
A feeler gauge measures small mechanical gaps and clearances with a tactile precision no eyeball or caliper can match. You use one whenever a spec calls for a clearance too tight, too thin, or too awkwardly placed to check any other way, like valve lash, spark plug gaps, or bearing setups. The rule of thumb is simple: reach for a feeler gauge when the gap is small enough that a “light drag” fit tells you more than a number on a screen ever could.
TL;DR:
- Feeler gauges are essential for measuring tiny mechanical gaps that are too small for calipers or dial indicators, especially in tight engine or machine clearances.
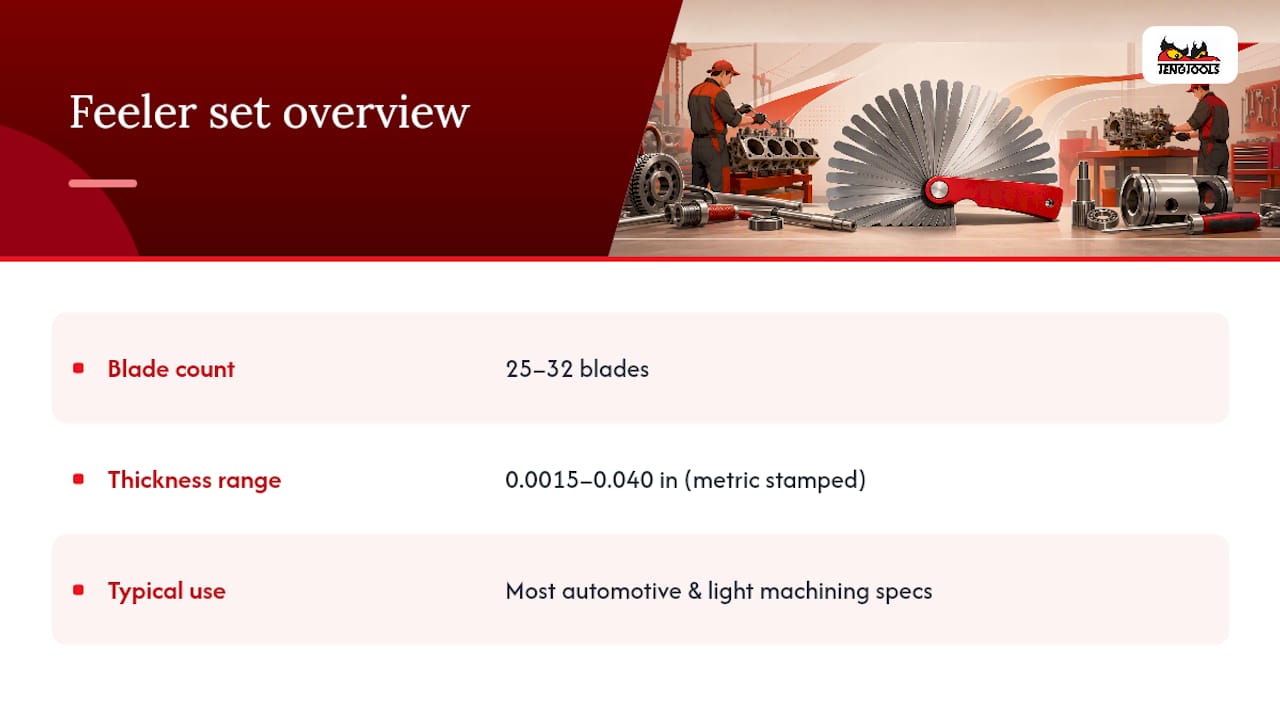
- A typical set of 25 to 32 blades covers ranges from 0.0015 to 0.040 inches, or 0.038 to 1.016 millimeters, which suits most automotive and light machining needs.
- Accurate readings depend on proper technique, including cleaning surfaces, selecting the correct blade, and stacking blades when necessary to match specifications.
- Keeping the blades clean, properly stored, and replacing damaged or bent blades maintains measurement accuracy over time.
- Using a specialized tweezers tool helps prevent blade damage and loss, ensuring consistent and reliable readings during busy workshop work.
Table of Contents
- What Are Feeler Gauge Uses in Real Workshop Work?
- What Types of Feeler Gauges and Sizes Should You Know?
- How Do You Measure a Gap With a Feeler Gauge?
- How Do You Keep Feeler Gauge Readings Accurate?
- What Do Common Specs Look Like in Blade Sizes?
- Why Do Experienced Techs Keep a Feeler Gauge Handy?
- Which Teng Tools USA Accessory Helps You Handle Feeler Blades?
- Sources
- FAQ
What Are Feeler Gauge Uses in Real Workshop Work?
Most technicians meet a feeler gauge for the first time under a valve cover, but the tool earns its keep across far more than engine work. It’s built for one job: fitting into a gap that’s too tight for a caliper jaw and too small for a dial indicator to read cleanly.
In the automotive world, feeler gauges set valve lash, check spark plug gaps, and dial in ignition points on older distributor systems. Wire gauges work better than flat blades for spark plugs because the round wire seats against a curved electrode instead of bridging it at two points.
Machinists lean on feeler gauges just as heavily:
- Machine setup — checking gib clearances, bearing play, piston ring gaps, and die clearances during a rebuild.
- Woodworking and shop setup — leveling table saw wings, confirming fence parallelism, and spot-checking flatness on jointer beds.
- Inspection and QC — running go/no-go checks and documenting acceptance results on a work order.
A feeler gauge beats a caliper or dial indicator whenever the surfaces are hard to access, the tolerance is a single thickness rather than a range, or you just need a fast pass/fail answer instead of a full dimensional readout.
What Types of Feeler Gauges and Sizes Should You Know?
Not every gap calls for the same blade. Flat blade gauges handle most parallel-surface work: valve covers, machine ways, saw fences. Wire (round) gauges exist specifically for spark plugs, since a round cross-section seats reliably against a curved electrode where a flat blade would rock or bridge.
Tapered and offset blades solve a different problem: reaching gaps buried behind housings or castings where a straight blade can’t approach square. Material matters too. Spring steel blades resist wear and hold a stable thickness; stainless resists corrosion in damp shops; brass and plastic versions show up where you need a nonsparking or non-marring option near sensitive surfaces.
A typical set carries 25 to 32 blades spanning roughly 0.0015 to 0.040 inches, with metric equivalents stamped right on the blade. That range covers the overwhelming majority of automotive and light machining specs you’ll encounter, which is why a well-stocked 25 blade set remains a sound default for a general bench.
How Do You Measure a Gap With a Feeler Gauge?
Getting an accurate reading is less about the tool and more about technique. Follow this sequence every time:
- Clean both surfaces first. Wipe the blade and the gap with a lint free cloth; oil film or grit adds false thickness to the reading.
- Start slightly under spec. Pick a blade you expect to slide in with room to spare, then work up in thickness rather than guessing high and forcing a fit.
- Insert with light, even pressure. The correct fit produces a light, uniform drag, not a jam. Never force a blade that resists.
- Stack blades for intermediate values. If the spec falls between two standard blades, combine two thinner blades and add their stamped thicknesses (0.003 in plus 0.005 in gives you a true 0.008 in check).
- Re-check outliers. If the gap swallows your largest blade or rejects your smallest, stop. The clearance is out of range and needs adjustment, not a workaround.
- Document the result. Note the blade or combination that fit against the service manual specification before moving on.
Pro Tip: Keep a second, slightly thinner blade in hand as you test. If the correct blade fits with drag but the next size up won’t enter at all, you’ve bracketed the true clearance and can trust the reading.
How Do You Keep Feeler Gauge Readings Accurate?
Accuracy starts with cleanliness. Debris, oil film, and built up grime skew readings more often than a worn blade does, so wipe both the blade and the gap surface before every check, and again if the reading looks off. A thin film you can’t even see can still change a measurement enough to fail a spec.
Store the set closed and in its holder. A bent or nicked blade reads wrong forever, so:
- Replace any blade that’s kinked, bowed, or burred at the tip.
- Wipe blades dry before folding them back into the holder to prevent rust.
- Never use a feeler gauge as a pry bar or scraper.
The gauge only verifies a number someone else set. Always pull the actual clearance from the equipment’s service manual rather than a memorized figure, and if a job calls for certified dimensional accuracy rather than a pass/fail check, switch to a calibrated dial indicator or caliper instead.
A feeler gauge doesn’t replace the spec. It confirms whether the part in front of you matches the number the manufacturer already decided on.
What Do Common Specs Look Like in Blade Sizes?
Converting a service spec to the right blade is mostly memorization, but a quick reference speeds up the first few years on the job. Inch and metric markings on modern blades make this easier than it used to be.
| Inch size | Metric equivalent | Typical use |
|---|---|---|
| 0.0015 in | 0.038 millimeters | Fine ignition point gaps |
| 0.003 in | 0.076 millimeters | Points, thin gib clearance |
| 0.005 in | 0.127 millimeters | Valve lash (many small engines) |
| 0.010 in | 0.254 mm | Valve lash, table saw tolerances |
| 0.020 inches | 0.508 millimeters | Wider valve lash, machine setup |
| 0.040 in | 1.016 millimeters | Larger clearance checks |
These inch to metric mappings cover most engine and light machining work you’ll run into. If a spec falls between two blades, stack them, as covered in the how-to section above, and confirm the combined thickness against the manual before signing off. On acceptance checks, photographing the correct blade seated in the gap gives you a simple, credible record without any extra equipment.
Why Do Experienced Techs Keep a Feeler Gauge Handy?
A feeler gauge costs little and settles arguments fast. On a rushed valve adjustment, a fifteen-second check beats a guess every time, and that only works if the gauge is actually where you left it. A shop that keeps small measuring tools in a designated tray home instead of a loose drawer spends less time hunting and more time turning wrenches.
— David
Which Teng Tools USA Accessory Helps You Handle Feeler Blades?
Thin blades are easy to bend and easy to lose in a cluttered drawer, and a bent blade gives you a wrong reading every time after that. The Teng Tools Tweezer 125mm Bent/Serrated (TW2125) is built for exactly this kind of small parts work: the bent, serrated tip grips a thin blade or small fastener without flexing it, and it handles the tiny hardware that always seems to hide near a valve cover or carburetor bowl.
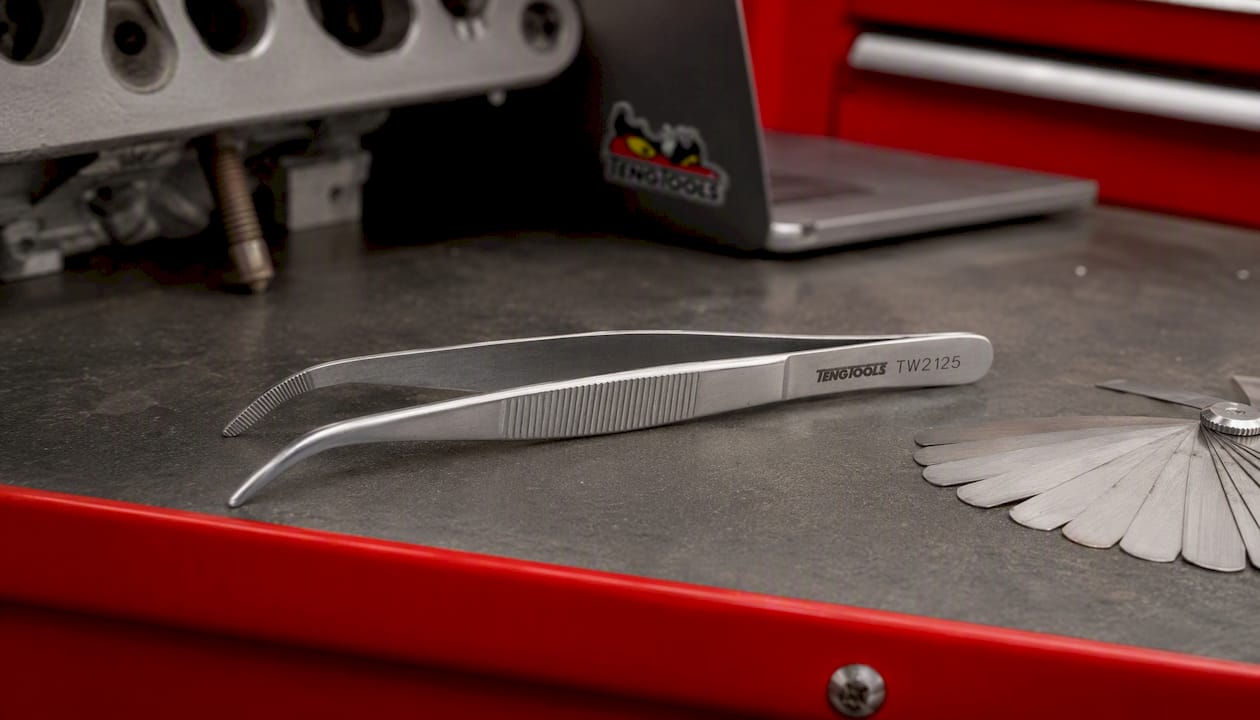
Pairing a tweezer like this with an organized tray setup means your feeler blades stay flat, clean, and exactly where you left them instead of rattling loose in a toolbox drawer. Tools ship same day from a U.S. warehouse, and many carry a lifetime warranty, so a small accessory purchase doesn’t turn into a repeat expense. Check the full specifications on the TW2125 product page and add it to your next order.
Sources
- Feeler gauge — Wikipedia
- Feeler Gauge Basics: Measuring Gaps and Setting Tolerances — Build-Construct
- A Complete Guide to Feeler Gauges — RS Components
- All about feeler gauges: definition, sizes, and uses — Thomasnet
FAQ
What Is a Feeler Gauge Used For?
A feeler gauge measures the clearance between two parts, most commonly valve lash, spark plug gaps, bearing play, and machine setup gaps, by checking which blade thickness fits with a light, even drag.
Are Feeler Gauges Still Used Today?
Yes. They remain standard in workshops, maintenance, and inspection wherever a quick tactile check is faster or more practical than a calibrated dial instrument.
What Can You Measure With a Feeler Gauge?
You can measure valve lash, spark plug gaps, bearing and piston ring clearances, gib and die clearances, and surface flatness, plus use stacked blades as improvised shims for leveling tasks.
What Does .010 on a Feeler Gauge Mean?
A blade stamped 0.010 measures 0.010 inches thick, equal to about 0.254 millimeters, and is a common valve lash and table saw tolerance spec.