
Reach for a caliper when you need fast, versatile checks across a range of features. Reach for a micrometer when the tolerance is tight enough that thousandths matter and repeatability has to hold shift after shift. As a rule of thumb, if the drawing tolerance is looser than 0.05 mm (0.002"), a quality digital caliper gets you there. Tighter than that, especially on a single critical diameter, hand the job to a micrometer.
- Tolerance ≥ 0.05 mm (0.002"): caliper handles it
- Tolerance < 0.02 mm (0.001"): micrometer is the right call
- Need OD, ID, depth, and step in one tool: caliper wins on versatility
- Need to verify a shaft against a gauge block at shift start: either tool, but check the “How to Verify and Maintain” section below before you trust the numbers
Key Takeaways
Match instrument resolution to drawing tolerance, verify daily with a gauge block, and store both tools where they can’t get knocked out of calibration.
| Point | Details |
|---|---|
| Match tool to tolerance | Use calipers above 0.05 mm tolerance and micrometers below 0.02 mm for reliable results. |
| Know your resolution numbers | Calipers typically resolve to 0.01 mm; micrometers resolve to 0.001 mm per frame. |
| Verify before you trust a reading | Check against a 1" or 25 mm gauge block at the start of every shift. |
| Control temperature and handling | Hold micrometer frames by a heat shield and let parts reach ambient temperature first. |
| Keep tools organized and protected | Teng Tools’ Get Organized™ foam trays and ISO/DIN-compliant kits keep measuring instruments accessible and calibrated longer. |
Table of Contents
- Caliper vs Micrometer: The Technical Differences That Drive Accuracy
- When Should You Use a Caliper Instead of a Micrometer?
- How Do You Read and Use a Caliper or Micrometer Correctly?
- How to Verify and Maintain Your Measuring Tools
- Why This Guide and Teng Tools Back Your Measurement Workflow
- Does Build Quality Actually Affect Measurement Accuracy?
- An Editorial Take on Choosing Between These Two Tools
- Ready to Build a Measurement Station That Actually Stays Organized?
- Sources
Caliper vs Micrometer: The Technical Differences That Drive Accuracy
The gap between these two tools comes down to mechanics, not marketing. A caliper uses a sliding jaw referenced against a scale, whether that scale is vernier lines, a dial, or a digital display. A micrometer uses a calibrated screw, so every full turn of the thimble moves the spindle a fixed, known distance. That screw is why micrometers repeat so well.
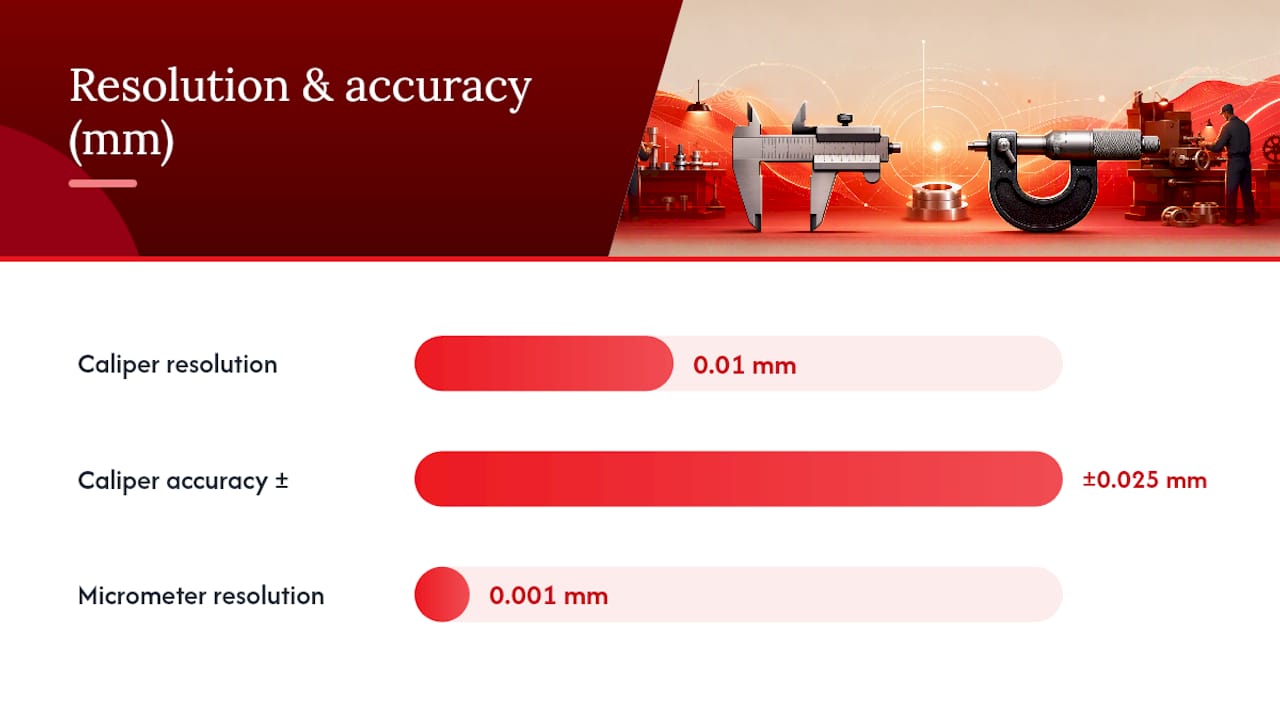
Typical digital calipers resolve to 0.01 mm (0.0005") and hold accuracy around ±0.001" (0.025 mm) across a 0 to 6 inch or 0 to 150 mm range in a single tool. A standard micrometer resolves to 0.001 mm (0.0001"), a full order of magnitude finer, but only across a one inch or 25 mm window before you need to swap frames. That’s why shops keep micrometer sets in 0 to 1", 1 to 2", 2 to 3", and so on, rather than one tool that spans everything.
Statistic to remember: NIST laser micrometer research has demonstrated diameter measurement uncertainty below 20 nanometers in controlled lab conditions. That’s not a shop-floor number. It’s the ceiling that shows how much precision the underlying screw-and-spindle concept can deliver when temperature, vibration, and handling are fully controlled.
| Feature | Caliper | Micrometer |
|---|---|---|
| Typical resolution | 0.01 mm (0.0005") | 0.001 mm (0.0001") |
| Typical range per tool | 0 to 6" (150 mm) or more | 1" (25 mm) per frame |
| Contact type | Flat jaws, knife edges, points | Flat, spherical, blade, V-block anvils |
| Common readout | Vernier, dial, digital | Vernial scale, digital |
Specialty anvils extend a micrometer’s reach into places a standard outside mic can’t touch. Blade micrometers get into narrow grooves. V-anvil micrometers check odd-numbered flutes on cutters. Caliper-type micrometers combine the mic’s screw with jaw-style contacts for awkward geometries, a hybrid worth knowing exists before you assume you need a custom fixture.
Readout type introduces its own error modes. Vernier scales are vulnerable to parallax if you don’t look straight on. Dial indicators drift slightly with mechanical wear over years of use. Digital displays eliminate both problems but introduce battery drift and the occasional dead unit at the worst possible moment, so keeping a mechanical backup on the bench isn’t paranoia.
When Should You Use a Caliper Instead of a Micrometer?
The decision isn’t really caliper versus micrometer in the abstract. It’s tolerance versus tool capability, and the best practice is matching instrument error to a fraction, often a third, of the allowed drawing tolerance. Here’s how that plays out on real parts.
- Rough OD/ID/depth checks, tolerances over ±0.005": a digital caliper covers outside diameter, inside diameter, and depth in one tool without a frame change.
- Shaft diameters under ±0.001" tolerance: a micrometer with a fresh zero-check earns its keep here; a caliper’s parallelism error can eat your entire tolerance band.
- Thin-wall or grooved features: a blade or V-anvil micrometer reaches where a standard mic anvil can’t seat flat.
- High-volume batch inspection with SPC output: digital calipers with data output cut inspection time and feed statistical process control software directly.
- Odd-shaped bores or step measurements: caliper depth and step jaws handle geometry a micrometer physically cannot access.
Workflow matters as much as tolerance. If you’re running 200 parts an hour, a digital caliper’s speed and lower training curve beat a micrometer’s precision every time, provided the tolerance allows it. If you’re checking one critical bearing journal that has to hold ±0.0002", slow down and use the mic.
Pro Tip: Keep both a caliper and a micrometer set within arm’s reach at the same station. Switching tools mid-inspection costs you less time than walking to a tool cart, and a Get Organized™ foam tray keeps each one in its exact spot so you’re not hunting during a changeover.
How Do You Read and Use a Caliper or Micrometer Correctly?
Technique separates a trustworthy reading from a guess, and the errors that ruin measurements are almost always operator-introduced, not instrument-introduced.
For calipers:
- Zero the tool against a clean, closed jaw before every session, not just once a shift.
- Check jaw parallelism; a worn or sprung jaw reads false on both OD and ID work.
- Let the jaws close under their own light spring tension. Don’t force them, or you’ll compress the part and read undersize.
- On digital models, zero at the reference point and confirm perpendicularity before trusting the display, since digital readouts remove parallax risk that plagues vernier scales but can still mislead if the jaw isn’t square to the part.
For micrometers:
- Always close using the ratchet stop, never the thimble directly. Ratchets deliver consistent measuring force every single time.
- Hold the frame by an insulated grip or heat shield rather than bare-handed contact, since body heat transfers into the steel frame and expands it, throwing off readings at the thousandth level as thermal handling research confirms.
- Read the sleeve line first, then the thimble graduation, and double check against the vernier line on models that have one for tenths resolution.
Pro Tip: Start every shift by measuring a 1" or 25 mm gauge block on whichever instrument you’re about to use. If the reading is off by more than half your tolerance band, stop and recalibrate before you touch a single production part.
How to Verify and Maintain Your Measuring Tools
Trust in a number comes from routine, not from the tool’s price tag. A quick shift-start gauge block check, logged with the date and reading, catches drift before it costs you a batch of scrapped parts.
- Run a gauge block check at the start of every shift and log the result against a target value.
- Recalibrate calipers roughly every 12 months under normal shop use; digital in-line micrometers on production lines need it closer to every 6 months, and master gauges every 3 months.
- Store digital instruments with batteries removed if they’ll sit longer than a few weeks, and wipe contacts before reinstalling.
- Let parts and instruments reach the same ambient temperature before final measurement. A part fresh off a mill is warmer than you think, and thermal expansion at micrometer resolution is real, not theoretical.
A micrometer spindle that’s seen 50,000-plus cycles can develop a small zero shift from wear alone, which is exactly why the shift-start check isn’t optional busywork.
Why This Guide and Teng Tools Back Your Measurement Workflow
Precision measurement only means something if the rest of your bench setup supports it. Teng Tools designs to ISO and DIN standards across its catalog, backs every tool with a lifetime warranty, and ships same-day from its Fort Worth, Texas warehouse when you need a replacement fast.
- Get Organized™ foam trays give each measuring tool a dedicated slot, so a caliper or micrometer never goes missing between shifts.
- Conversion references help you move cleanly between metric and imperial readouts without doing mental math under deadline pressure.
- Calibration guidance extends the same verification discipline you use on measuring tools to torque equipment on the same bench.
Does Build Quality Actually Affect Measurement Accuracy?
Yes, and it shows up faster than most operators expect. A caliper with a thin, flexible frame will spring slightly under jaw pressure, especially on wider stock, introducing error that has nothing to do with the scale printed on it. Hardened stainless steel frames resist that flex and hold their calibration longer across daily use.
Micrometers depend even more on build quality because the entire measurement rides on one precision screw thread. Cheap threads wear unevenly, and that uneven wear is what produces the zero shift discussed earlier. A hardened, ground spindle with a properly lapped anvil face holds tolerance far longer than a stamped, unhardened equivalent.
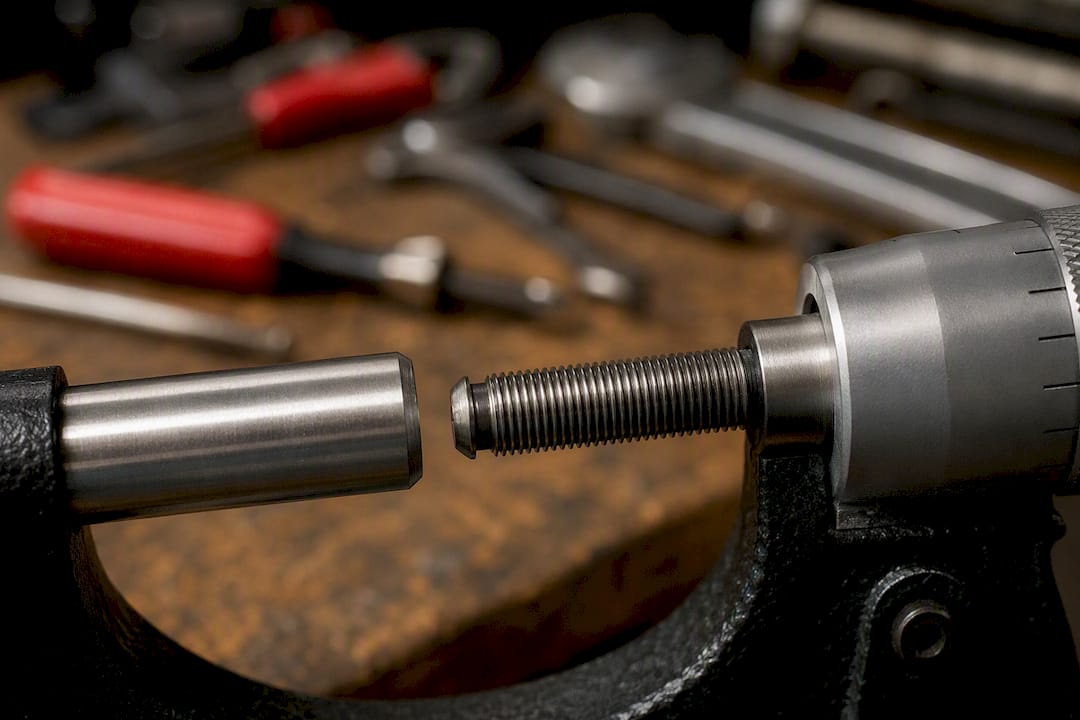
Jaw and anvil surface finish matters too. Rough or pitted contact surfaces don’t seat flat against the part, and that small gap reads as false play in the measurement. Chrome-plated or satin-chrome finishes resist corrosion from shop coolant and skin oils, which keeps contact surfaces true for years instead of months.
Digital models add another build consideration: seal quality. An IP54 or better rating keeps coolant and dust out of the electronics, which matters enormously on a wet grinding line and barely at all in a clean bench inspection cell. Match the seal rating to the environment, not to the biggest number on the spec sheet, because a sealed housing you don’t need adds cost without adding accuracy.
An Editorial Take on Choosing Between These Two Tools
The industry’s default advice, buy a micrometer because it’s “more accurate,” misses the actual decision. Accuracy that exceeds your tolerance requirement doesn’t help you. It just slows you down and adds training overhead for no measurable gain in part quality. The sharper question is always: what’s the drawing tolerance, and what tool gets me there reliably at the speed my workflow demands?
Where conventional advice really falls short is on maintenance. Everyone talks about resolution numbers on the spec sheet. Almost nobody talks about the gauge block check that should happen before the first part of every shift. A $30 gauge block habit catches more real-world error than upgrading from a 0.001 mm micrometer to a lab-grade one you’ll never need on a shop floor.
If you take one thing from this guide, prioritize the verification routine over the tool spec. A well-maintained caliper checked daily beats a neglected micrometer every time.
— David
Ready to Build a Measurement Station That Actually Stays Organized?
Precision tools only stay precise if they’re stored right, protected from drops, and easy to grab without digging through a drawer. Teng Tools solves that with the Get Organized™ system, click-together foam trays that give every caliper, micrometer, and hand tool a designated home, so nothing goes missing between shifts and nothing gets crushed under a pile of wrenches.

If your bench needs a full refresh rather than a single tray, the Teng Tools General Tool Set FOAM4X4 18 pieces gives you a compact, organized starting point built to ISO and DIN standards, backed by a lifetime warranty, and shipped same-day from the Fort Worth, Texas warehouse. Shops running high-volume inspection lines that need more coverage can step up to the Teng Tools General Tool Set FOAM6X6 99 Pieces for broader tool availability at the same station.
Check the full range of kits and trays at Teng Tools USA and pick the configuration that matches how your bench actually runs.
Sources
- Caliper
- Caliper vs Micrometer: Selection Criteria, Resolution Classes, and Field Tradeoffs — Industry News | SpecForge
- The impact of temperature and technique on micrometer measurements in custom manufacturing